

Choosing the right nail gun for your DIY projects can distinguish between a smooth, efficient workflow and a frustrating, time-consuming ordeal. Whether you’re building a bookshelf, installing trim, or tackling a deck, the right tool ensures precision, safety, and speed. This comprehensive guide walks you through the types of nail guns, key features to consider, and practical tips to match the perfect nail gun to your DIY needs—all while keeping your projects on track and your results professional.
Why a Nail Gun Matters for DIY Projects
Nail guns are a staple in any DIYer’s toolkit, offering speed and consistency that hammers can’t match. They drive nails into wood, metal, or other materials with precision, saving time and reducing physical strain. But with so many options—pneumatic, electric, cordless, and more—selecting the right one can feel overwhelming. By understanding your project requirements and the capabilities of each type, you’ll be equipped to make an informed choice that boosts efficiency and delivers quality results.
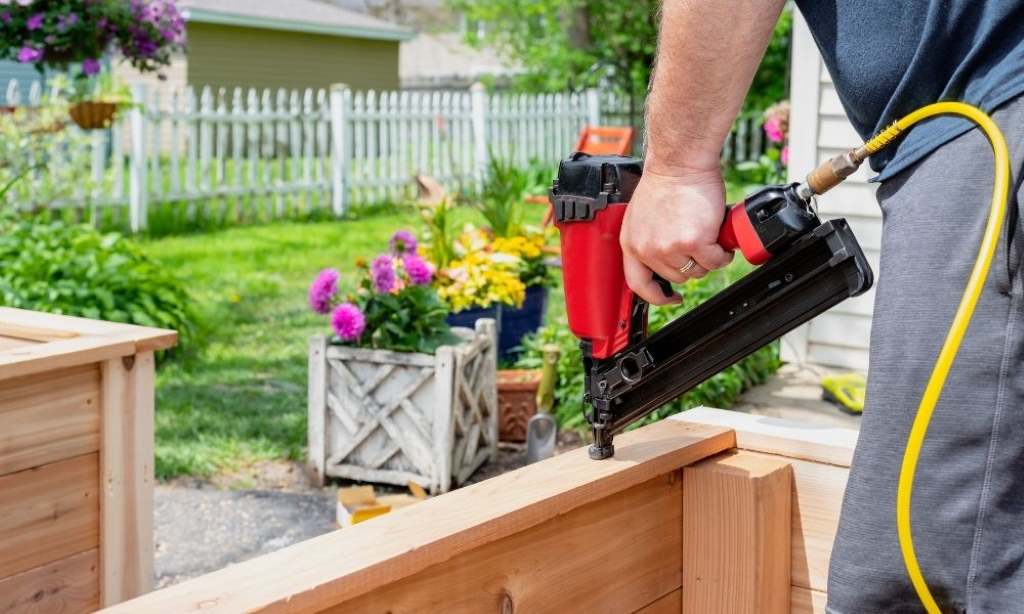
Types of Nail Guns for DIYers
Different nail guns serve distinct purposes, from delicate trim work to heavy-duty framing. Here’s a breakdown of the most common types for DIY applications:
- Brad Nailers
- Best For: Light trim, molding, and small woodworking projects.
- Nail Size: 18-gauge brads, typically 5/8 to 2 inches long.
- Pros: Lightweight, precise, minimal surface damage.
- Cons: Not suited for heavy-duty tasks or thick materials.
- Use Case: Perfect for attaching thin trim or crafting furniture where small, discreet nails are ideal.
- Finish Nailers
- Best For: Baseboards, crown molding, and cabinetry.
- Nail Size: 15- or 16-gauge nails, 1 to 2.5 inches long.
- Pros: Stronger hold than brads, clean finish for visible areas.
- Cons: Too powerful for delicate materials.
- Use Case: Ideal for interior finishing, like securing door casings or chair rails.
- Framing Nailers
- Best For: Heavy-duty tasks like framing houses, building decks, or fencing.
- Nail Size: 10- to 12-gauge nails, 2 to 3.5 inches long.
- Pros: High power, drives nails into dense wood or metal.
- Cons: Bulky, overkill for small projects.
- Use Case: Essential for structural work, such as assembling wall frames or outdoor structures.
- Roofing Nailers
- Best For: Installing asphalt shingles, roofing felt, or insulation boards.
- Nail Size: Coil nails, 3/4 to 1.75 inches long.
- Pros: Fast, designed for repetitive roofing tasks.
- Cons: Specialized, not versatile for other projects.
- Use Case: A go-to for DIY roof repairs or shed construction.
- Pin Nailers
- Best For: Delicate woodworking, temporary holds, or intricate crafts.
- Nail Size: 23-gauge headless pins, 1/2 to 2 inches long.
- Pros: Nearly invisible holes, great for precision work.
- Cons: Weak holding strength, not for structural use.
- Use Case: Excellent for veneers or lightweight decorative pieces.
Power Sources: Pneumatic, Electric, or Cordless?
The power source of a nail gun affects its portability, power, and maintenance. Here’s how they compare:
- Pneumatic Nail Guns
- How They Work: Powered by an air compressor via a hose.
- Pros: Lightweight, powerful, affordable, and reliable for heavy use.
- Cons: Requires a compressor and hose, less portable.
- Best For: Home workshops with frequent, heavy-duty tasks.
- Electric Nail Guns
- How They Work: Plug into an outlet, no compressor needed.
- Pros: Easy to use, consistent power, no extra equipment.
- Cons: Limited by cord length, less powerful than pneumatic.
- Best For: Light to medium indoor projects.
- Cordless Nail Guns
- How They Work: Battery-powered, often with gas fuel cells for combustion.
- Pros: Highly portable, no cords or hoses, good for remote sites.
- Cons: Heavier, batteries need recharging, and higher cost.
- Best For: Outdoor projects or areas without power access.
Consider your workspace: a cordless model suits outdoor decking, while a pneumatic one excels in a garage with a compressor setup.
Key Features to Evaluate
Beyond type and power, several features influence a nail gun’s suitability for your DIY needs. Prioritize these when shopping:
- Nail Gauge and Length
- Match the gauge (thickness) and length to your project. Thicker gauges (lower numbers) offer more strength for framing, while thinner ones (higher numbers) suit finishing.
- Magazine Capacity
- A larger magazine holds more nails, reducing reloads. For big projects like fencing, look for 50+ nail capacity; for small tasks, 20-30 suffices.
- Depth Adjustment
- Allows you to control how deep nails sink, preventing surface damage or ensuring a flush finish. Essential for trim and woodworking.
- Firing Mode
- Sequential: Fires one nail per trigger pull, precise and safe.
- Bump: Fires rapidly when the tip is pressed, ideal for speed.
- Look for models with both for versatility.
- Weight and Ergonomics
- Lighter models (3-5 lbs) reduce fatigue for long sessions. Rubber grips and balanced designs improve comfort and control.
- Safety Features
- Seek trigger locks, anti-dry fire mechanisms, and tip guards to prevent accidents, especially if you’re new to nail guns.
- Jam Clearing
- Easy-access mechanisms save time if nails jam, a common issue in repetitive tasks.

Matching the Nail Gun to Your DIY Project
Your project type dictates the best nail gun. Here’s a quick guide:
- Small Woodworking: Brad or pin nailers for crafts, picture frames, or light repairs.
- Interior Finishing: Finish nailers for molding, trim, or cabinet installation.
- Structural Builds: Framing nailers for decks, sheds, or wall framing.
- Roofing Tasks: Roofing nailers for shingles or roofing materials.
- Mixed Projects: Consider a combo kit with interchangeable heads or a versatile finish nailer.
Assess your project’s material (softwood, hardwood, metal), frequency (occasional vs. regular), and scale (small repairs vs. full builds) to narrow options.
Budget Considerations
Nail guns range from $50 to $300+. Entry-level electric or cordless models ($50-$150) suit casual DIYers, while pneumatic or high-end cordless ones ($150-$300) fit frequent or heavy use. Factor in extras:
- Compressor: $100-$200 for pneumatic models.
- Batteries/Chargers: $50-$100 for cordless.
- Nails: $10-$30 per pack, varying by size and type. Balance cost with durability—cheap models may lack power or jam often, costing more in repairs or frustration.
Safety Tips for Nail Gun Use
Safety is critical with nail guns. Follow these tips:
- Wear safety glasses and gloves to protect against ricochets or debris.
- Keep fingers away from the firing tip and use the trigger lock when not in use.
- Disconnect power (unplug, remove battery, or turn off compressor) during maintenance.
- Read the manual for model-specific instructions and nail compatibility.
- Store in a dry, secure place to prevent damage or unauthorized use.
Top Brands to Consider
Reliable brands offer durability and support:
- DeWalt: Known for cordless and pneumatic options, great for pros and DIYers.
- Bostitch: Affordable, reliable, strong in framing and finish nailers.
- Makita: High-quality cordless models, excellent battery life.
- Hitachi (Metabo HPT): Durable, versatile, good for heavy-duty tasks.
- Paslode: Pioneers in cordless, fuel-driven nailers for portability. Check reviews for performance, warranty, and customer service.
Where to Buy
Purchase from hardware stores (Home Depot, Lowe’s), online retailers (Amazon, eBay), or brand websites. Compare prices, check for bundles (nail gun + nails + compressor), and read user feedback for real-world insights.
Read more: Best Way to Organize Elfa Shelving for Maximum Pantry Storage
Final Tips for Choosing Your Nail Gun
- Start Small: If new to DIY, begin with a brad or finish nailer for versatility.
- Rent vs. Buy: For one-off big projects, rent a framing or roofing nailer to save money.
- Test It: If possible, try a model in-store for weight, grip, and ease of use.
- Future-Proof: Pick a model that grows with your skills—e.g., a finish nailer with depth adjustment for varied tasks.
Conclusion
Selecting the right nail gun for your DIY needs boils down to understanding your projects, weighing power sources, and prioritizing key features like nail size, safety, and ergonomics. Whether you’re crafting a birdhouse or building a deck, the perfect nail gun saves time, enhances precision, and elevates your results. Invest wisely, prioritize safety, and you’ll be nailing your DIY goals with confidence. Ready to start? Your next project awaits!