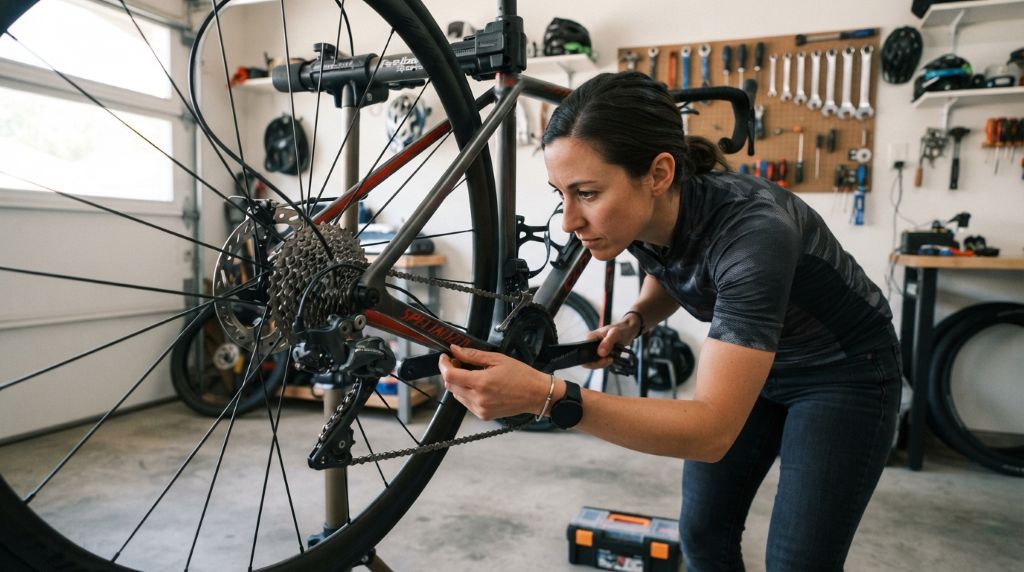
Last spring, my chain slipped halfway up the steepest hill in my neighborhood. I had no repair stand, no shop money, and zero patience left. So I fixed my gears that evening on my apartment floor. The whole job took about 40 minutes.
Here’s the good news. You do not need a stand to do this. You need a screwdriver, some patience, and the steps below. First, we’ll look at why gears go bad. Next, we’ll gather your tools. Finally, we’ll adjust both derailleurs step by step. Let’s get your bike shifting like new again.
Why Bike Gears Go Out of Tune in the First Place
Gears rarely fail overnight. Instead, they drift out of tune slowly, ride after ride. The main culprit is cable stretch. Every shift pulls a steel cable through its housing. Over time, that cable loosens, and your shifting gets sloppy. In fact, most shifting problems come down to cable tension, not broken parts. That’s a relief, because tension is the easiest thing to fix.
Wear plays a role too. Your chain and rear cogs grind on each other for hundreds of miles. A worn chain can skip under hard pedaling. That skip feels like a scary lurch in your legs. Additionally, bumps and falls can bend the derailleur hanger. Even a small bend throws off every gear at once.
Safety is another reason to care. Roughly 1,000 cyclists die in U.S. road crashes each year. Most of those crashes involve cars. However, mechanical trouble causes its own share of spills. A chain that skips on a steep climb can throw off your balance fast.
My own gears went bad after one rainy month of commuting. Grit had crept into the cable housing. Every shift sounded like an angry parrot. Therefore, clean your drivetrain before you tune anything. A clean bike is far easier to adjust. Trust me on that.
What You Need Before You Start
You only need a few basic items for this job. None of them will break the bank.
- A Phillips screwdriver. This turns the limit screws on both derailleurs.
- Hex keys. A 5 mm key fits most cable anchor bolts.
- Two clean rags. One for wiping grime, one for your hands.
- Chain lube. A dry chain shifts badly no matter what.
- A chain wear tool. Optional, but it tells you if your chain is stretched out.
- A helper. Also optional. A friend can hold the bike steady.
Now for the big question. How do you hold the bike without a stand? You have a few solid options:
- Flip the bike upside down. Rest it on the seat and bars, on a towel or grass. Then spin the pedals by hand.
- Hang the saddle nose in a doorway. This keeps the bike upright, which shifts more naturally.
- Use a helper. Have someone lift the rear wheel while you pedal and shift.
One honest note here. Bikes sometimes shift slightly differently upside down. Gravity tugs on the cables. Therefore, do your final fine-tuning on a real ride, with the bike upright.
How to Adjust Bike Gears Without a Stand: Step by Step
Take a breath. This is easier than it sounds. The most trusted name in bike repair, covers these steps in its free guide. Use my version below as your cheat sheet.
Step 1: Clean and Inspect Everything First
Wipe the chain, the rear cogs, and both derailleurs with a dry rag. Then apply one drop of lube to each chain link. Wipe off the excess. A gritty drivetrain hides real problems. In addition, check the derailleur hanger for bends. Sight it from behind the bike. The derailleur should hang straight, like a small tail under the cogs. If it’s bent, shifting will never be clean. Straightening a hanger is really a job for a shop. However, a careful hand can nudge some hangers back with an adjustable wrench.
Step 2: Set the Rear Derailleur Limits and Cable Tension
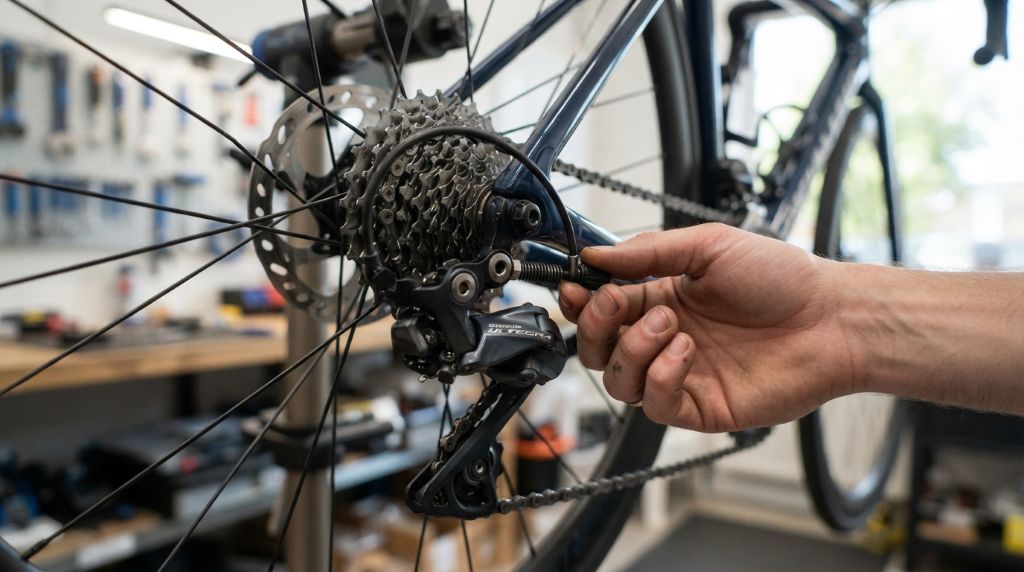
The rear derailleur has three key controls. First, the H screw sets the outer limit. Second, the L screw sets the inner limit. Third, the barrel adjuster fine-tunes cable tension. It sits where the cable enters the derailleur, or at the shifter.
Follow this order:
- Shift to the smallest rear cog and the largest front chainring. Pedal by hand. The chain should sit centered on that smallest cog. If it rubs or drops, turn the H screw a quarter turn at a time. Stop when the chain sits quietly in place.
- Shift up one gear at a time. If the chain climbs slowly, turn the barrel adjuster counterclockwise a quarter turn. That adds cable tension. Test again after each quarter turn.
- If the chain jumps two gears at once, you have too much tension. Turn the barrel clockwise a quarter turn instead.
- Now shift to the largest rear cog. If the chain hesitates or won’t reach it, turn the L screw counterclockwise a quarter turn. Stop the moment the chain climbs on cleanly. If the chain dives toward the spokes, tighten the L screw right away.
That spoke dive is the one scary moment in this job. I learned this the hard way. My first attempt dropped my chain into the spokes three times in a row. Quarter turns prevent all of that drama.
Step 3: Adjust the Front Derailleur
The front derailleur uses the same logic. It also has H and L screws, plus a barrel adjuster at the shifter on many bikes.
- Shift to the smallest chainring. The chain should run without rubbing the derailleur cage. If it rubs, turn the L screw a quarter turn until the rubbing stops. If it gets worse, turn the other way.
- Shift to the largest chainring. If the chain drags on the outer plate, adjust the H screw until you get a hair of clearance.
- Check the height too. The outer plate should clear the largest chainring by 1 to 3 mm. Fix this by loosening the mount bolt and raising or lowering the derailleur.
- Shift between rings several times. Slow shifts up mean more tension. Turn the barrel adjuster counterclockwise a quarter turn.
Front derailleurs test your patience more than your skill. Mine took three tries before it stopped whining in the middle gears. However, once it clicked into place, it stayed quiet for months.
Step 4: Test Ride and Fine-Tune
Now the fun part. Take a slow spin around your block. Shift through every gear while rolling. Listen for rubbing. Feel for slow or jumpy shifts. If the chain hesitates going up the cassette, add tension with a quarter turn counterclockwise. If it overshoots, release tension with a quarter turn clockwise.
This ride test matters. Remember, the bike may shift a bit differently upside down. The true test is a bike that’s upright and under real pedal load. That’s why shops always test ride after a tune-up. You should too.
Mistakes I Made So You Can Skip Them
I made every mistake below at least once. Learn from my bruises instead.
- I turned limit screws before checking cable tension. Nine times out of ten, a slow shift needs the barrel adjuster, not the screws. Try tension first.
- I cranked screws in full turns. Limit screws are sensitive. Quarter turns only. Small turns give big results.
- I tuned a filthy drivetrain. Grit hides the real problem. Cleaning first often fixes half your issues on its own.
- I skipped the test ride. My bike shifted fine in the doorway. Then it slipped on the first hill. Always test under real load.
- I ignored a stretched chain. Tension cannot fix metal that’s worn past its limit. If your chain checker reads worn, replace the chain. It’s cheaper than a new cassette.
Those five lessons turned me from frustrated to confident. None of them required a stand. Just patience and quarter turns. My doorway hang is still my go-to method today.
Frequently Asked Questions
Can I adjust gears with the bike upside down?
Yes. Flip it on a soft surface and pedal by hand. However, do the final fine-tuning upright, because gravity changes cable behavior slightly.
How often should I adjust my gears?
Check them every few months, or whenever shifting gets noisy. New cables stretch the most, so expect touch-ups soon after a cable change.
Why does my chain skip only when I pedal hard?
Usually that’s a worn chain or worn rear cogs, not tension. Use a chain wear tool. If it reads worn, replace the chain before it chews up the cassette.
Which way do I turn the barrel adjuster?
Counterclockwise adds tension for faster shifts to bigger cogs. Clockwise releases tension when the chain overshoots.
Do I need a repair stand eventually?
Not really. A doorway, a helper, or a bike hung by the saddle works fine. A stand is a comfort, not a requirement.
Final Thoughts and Your Next Shift
You don’t need a stand, a shop, or deep mechanical skill to fix your gears. You need clean parts, quarter turns, and one careful test ride. Set the rear derailleur limits first, then tension, then the front derailleur. My total time was under an hour, doorway hanging and all.
Since fixing mine, my hill climbs went from embarrassing to almost pleasant. Almost. The bike now shifts with one clean click, every single time. That small fix changed my whole ride.
If you’re planning a longer ride or road trip, don’t forget that proper bike preparation also includes knowing how to secure bikes on a hitch rack during long trips. A properly secured bike can help protect your adjustments and prevent unnecessary problems before you reach your destination.
Now I’d love to hear from you. Have you tried this without a stand? Which part fought you the longest? Leave a comment below with your story or questions. I read every one. Also, if this guide saved you a shop fee, share it with a riding friend. They’ll thank you on their next climb.